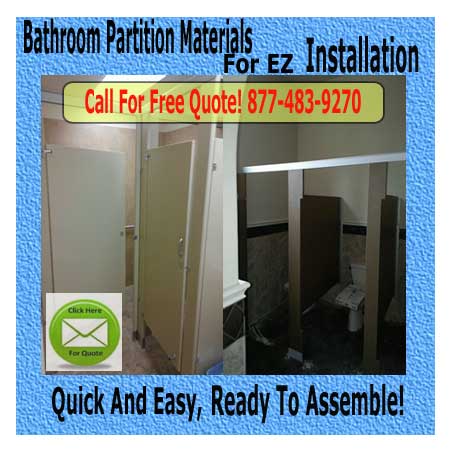
DIY Bathroom Partition Kit For Sale Call Us For A Free Quote! 877-483-9270
CLICK HERE FOR EASY INSTALLATION VIDEO
Each restroom design comes with a final set of Engineering Drawings conforming to the exact dimensions of your toilet partitions layout. There are basically three material components that conform into each engineering layout: panels, doors, and pilasters. The Panel walls offer the privacy and delineation between the toilets, the Doors offer ingress and egress to each stall, and the Pilasters are the columns that support the panels and doors fastened together to make a complete privacy compartment.
DIY Bathroom Stalls For Schools Kit For Sale Call Us For A Free Quote! 877-483-9270
Step by step Instructions are provided for each materials application. All the hardware is included. Tools needed to install include a Hammer Drill, Tape Measure, Level, 2 Spring Clamps, Power Drill, Circular Saw or Saws-All, Chalk Line, Pencil, Jig Saw or Hacksaw, Drill Bits – 9/64″, 3/16″, 7/32″ and 1/4″, and a 5/16 ceramic tile masonry drill bit and a Spacer that is 12″ high and deep enough to support a panel. A 2″ x 4″ piece of scrap wood works very well for this support panel.
Using the Engineering Layout, identify all the Hardware and Parts for each area. Following the step by step instructions, measure and re-measure your area to ensure correct placement of hardware and components before beginning the install. Identify hardware for each area and do not open hardware packages until ready to use. This helps keep everything organized and helps not to mix the different types of screws for each piece of hardware.
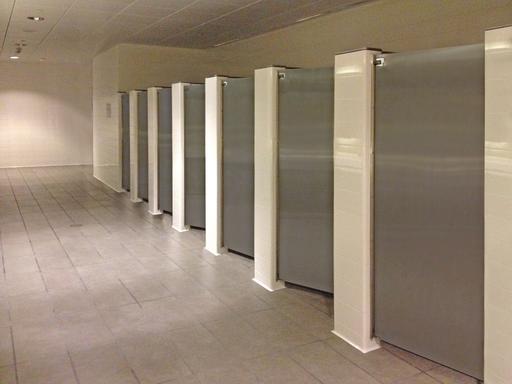
Always start at one end and install a panel, then a pilaster or vice versa, depending on the engineering layout provided. Continue alternating until installation is complete. When installing in an alcove or in-corner alcove, use an alcove bracket to secure the pilaster to the panel. The installation instructions provides a package model number and a diagram to ensure correct parts for each area.
DIY Ceiling Hung Toilet Partitions Kit For Sale Call Us For A Free Quote! 877-483-9270
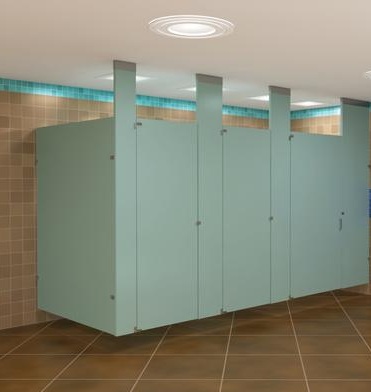
Note the swing of the door and the placement of the door hinges to ensure correct orientation of the doors during an install. Doors that swing in typically do not have a door pull unless they are a Handicap compliant. All doors that swing out will come with one door pull or handle per door. If there is plenty of depth inside the stall area, doors will typically swing to the inside of the stall so that the door will not swing into the common area of the bathroom, freeing up more space for guests. ADA hardware includes the door pull, compliant hook and door stop. Door Hardware can vary depending on the door swing and orientation, if you need to adjust the door swing in the field, it is possible by flipping the door strike. It is not advised to change the orientation of the ADA door otherwise you might not pass a code inspection.
Ready to install partitions are available in a Fast Ship program or a Custom program. Choose from a variety of installation applications, materials and colors including stainless steel and granite.
CLICK HERE FOR EASY INSTALLATION VIDEO
DIY Bathroom Partition Kit For Sale Call Us For A Free Quote! 877-483-9270
Pingback: Bathroom Partition Installation | commercialbathroomequipment